A floating floor is a type of flooring installation that sits on top of a subfloor without being attached to it—the planks or tiles literally "float" above the base layer, held in place by their own weight and friction. Unlike traditional nailed or glued installations, floating floors rely on a cushioning underlayment to create a seamless, flexible surface that can expand and contract with temperature and humidity changes. This design makes them ideal for DIY installations and offers several practical advantages for modern homeowners.
Quick Answer:
A floating floor is an unattached flooring system that rests on an underlayment rather than being fastened directly to the subfloor. This installation method allows the flooring to move slightly with humidity and temperature shifts, reducing buckling and warping while making installation faster and more accessible for homeowners. Floating floors work with laminate, vinyl plank, engineered wood, and certain tile options, making them increasingly popular in residential remodeling projects.
Floating floors have gained significant traction in recent years because they solve real problems that traditional installations create. They're faster to install, more forgiving of subfloor imperfections, and they reduce the risk of damage from moisture exposure—a critical advantage in kitchens and bathrooms where humidity fluctuates. The flexibility of floating floors also means you can remove and replace sections without disrupting the entire installation, which appeals to homeowners who want to refresh their spaces without extensive renovation work. As homeowners increasingly prioritize both aesthetics and practicality, understanding how floating floors work becomes essential to making informed remodeling decisions that maximize both space and longevity in your home.
Table of Contents
- How Floating Floors Stay in Place Without Nails or Adhesive
- Key Advantages of Floating Floors for Your Home Remodeling Project
- Floating Floor Materials: Laminate, Vinyl, Wood, and Tile Options
- Step-by-Step Guide to Installing a Floating Floor
- Prerequisites & Preparation
- Installation Steps
- Finishing & Common Mistakes
- Common Questions About Floating Floors Answered
- Making the Right Floating Floor Choice for Your Home
How Floating Floors Stay in Place Without Nails or Adhesive
The stability of floating floors relies on a deceptively simple mechanical system that has proven remarkably effective across millions of installations. Rather than being locked to the subfloor, floating planks or tiles are held in place through interlocking joints, friction, and the weight of the material itself—a design that actually prevents many of the problems traditional fastened floors create.
The most common locking mechanism is the click-lock or tongue-and-groove system. Each plank features a specially engineered groove on one side and a corresponding tongue on the other. When you install planks, the tongue of one board slides into the groove of the adjacent board at a slight angle, then clicks down into place with an audible snap. This creates a tight, unified surface where individual pieces move as one unit rather than independently. The mechanical tension between boards—not adhesive or nails—keeps them from separating. This system works so effectively that planks remain secure even under foot traffic and temperature fluctuations.
Underlayment plays a critical supporting role in floating floor stability. This thin cushioning layer sits between your subfloor and the floating planks, providing both structural support and moisture protection. Quality underlayment prevents planks from rocking on uneven subfloors and absorbs minor impacts from foot traffic. It also acts as a vapor barrier, protecting the flooring from moisture rising from below—a key reason floating floors perform well in kitchens and bathrooms where humidity varies throughout the day.
Expansion gaps around the perimeter of your room are equally essential. These small spaces (typically ¼ to ½ inch) allow the floating floor to expand and contract with humidity and temperature changes without buckling or warping. Without these gaps, the flooring has nowhere to move, which creates pressure that eventually causes visible peaks or waves in the surface. The gaps are usually hidden beneath baseboards or trim, so they remain invisible while doing critical work.
The beauty of this system is that floating floors don't shift or buckle when properly installed because the interlocking joints distribute stress evenly across the entire surface. When you walk on one plank, the force spreads through the click-lock connections to neighboring boards, preventing any single piece from moving independently. This is why floating floor stability depends far more on correct installation—ensuring level subfloors, proper underlayment, and adequate expansion gaps—than on the material itself.
Key Advantages of Floating Floors for Your Home Remodeling Project
Floating floors deliver substantial practical and financial benefits that make them an intelligent choice for homeowners undertaking remodeling projects. The most immediate advantage is installation speed and cost efficiency. According to research on flooring installation costs, floating floor labor runs between $1.50 to $3.00 per square foot, significantly undercutting glue-down installations at $2.50 to $4.50 per square foot. Most installations complete in a single day, even across large areas, which minimizes disruption to your household and reduces overall project timelines.
The versatility of floating floor systems represents another compelling advantage. Unlike traditional glued or nailed installations, floating floors work seamlessly over existing subfloors—concrete slabs, vinyl, tile, or even slightly uneven surfaces. This compatibility eliminates costly subfloor removal or extensive preparation, making remodeling projects more economical and less invasive. You gain the aesthetic appeal of premium materials without the structural demands of permanent installation.
Floating floors also excel at moisture management and thermal comfort. The underlayment layer acts as both an insulator and vapor barrier, protecting your flooring from humidity fluctuations common in kitchens and bathrooms. This performance advantage translates directly into longevity—your investment resists warping and buckling in environments where traditional hardwood would fail.
From a design perspective, floating floors offer remarkable aesthetic flexibility. Available in wood, laminate, vinyl, and tile finishes, they accommodate virtually any interior style while maintaining the visual warmth and sophistication homeowners desire. At WAREMODEL, we recognize that floating floors align perfectly with our philosophy of creating more functional, beautiful living spaces without unnecessary structural complexity. The ease of installation means you can refresh your home's appearance efficiently, freeing both time and budget for other meaningful improvements that enhance your daily life.
Floating Floor Materials: Laminate, Vinyl, Wood, and Tile Options
Selecting the right floating floor material fundamentally shapes your remodeling project's success. Each option delivers distinct advantages in durability, aesthetics, water resistance, and cost—making the choice deeply dependent on your room's function and lifestyle demands. Understanding these differences ensures your investment aligns with both your budget and long-term expectations.
Laminate floating floors represent the most economical entry point, costing according to Popular Flooring Company $2 to $4 per square foot for materials. These engineered products layer a photographic wood or stone image atop a high-density fiberboard core, delivering authentic visual appeal without premium pricing. Laminate excels in living rooms and bedrooms where moisture exposure remains minimal. However, water resistance is limited—spills must be wiped immediately, and kitchens or bathrooms demand careful consideration. Lifespan typically reaches 20–25 years with proper maintenance, making them ideal for budget-conscious homeowners prioritizing aesthetics over moisture tolerance.
Luxury vinyl plank (LVP) and rigid-core vinyl floating floors occupy the middle ground, costing $3 to $6 per square foot. These waterproof options feature a vinyl wear layer protecting against moisture, making them superior choices for kitchens, bathrooms, and basements. Rigid-core vinyl adds dimensional stability, resisting expansion and contraction better than standard LVP. Both materials replicate wood and stone finishes convincingly while offering genuine water resistance—a critical advantage traditional hardwood cannot match. Like laminate, vinyl flooring lasts 20–25 years and requires only routine sweeping and damp mopping.
Engineered wood floating floors bridge the gap between affordability and authentic hardwood character. Materials alone range from $3 to $13 per square foot, with full installation costs reaching $6 to $20 per square foot. These products feature a genuine hardwood veneer bonded to a plywood base, providing real wood warmth while resisting warping better than solid hardwood. They suit living spaces and bedrooms beautifully, though moisture-prone areas require underlayment upgrades.
Floating tile options—porcelain and ceramic—deliver unmatched durability and water resistance, making them perfect for bathrooms and entryways. Tile costs vary widely ($2–$15+ per square foot) but offers lifetime performance. Installation complexity increases slightly due to grouting requirements, yet the material's permanence justifies the investment.
At WAREMODEL, we recognize that the ideal floating floor material depends entirely on your space's demands. Kitchens benefit from waterproof vinyl; bedrooms embrace laminate's warmth; bathrooms demand tile's moisture mastery. Matching material to room function maximizes both satisfaction and longevity, transforming your remodeling vision into enduring reality.
Step-by-Step Guide to Installing a Floating Floor
Installing a floating floor is an achievable DIY project for homeowners with basic tool skills and patience. Unlike traditional nailed or glued installations, the floating floor installation process relies on mechanical locking systems and proper preparation rather than specialized expertise. Understanding each phase—from subfloor assessment through final finishing—ensures a professional result that lasts.
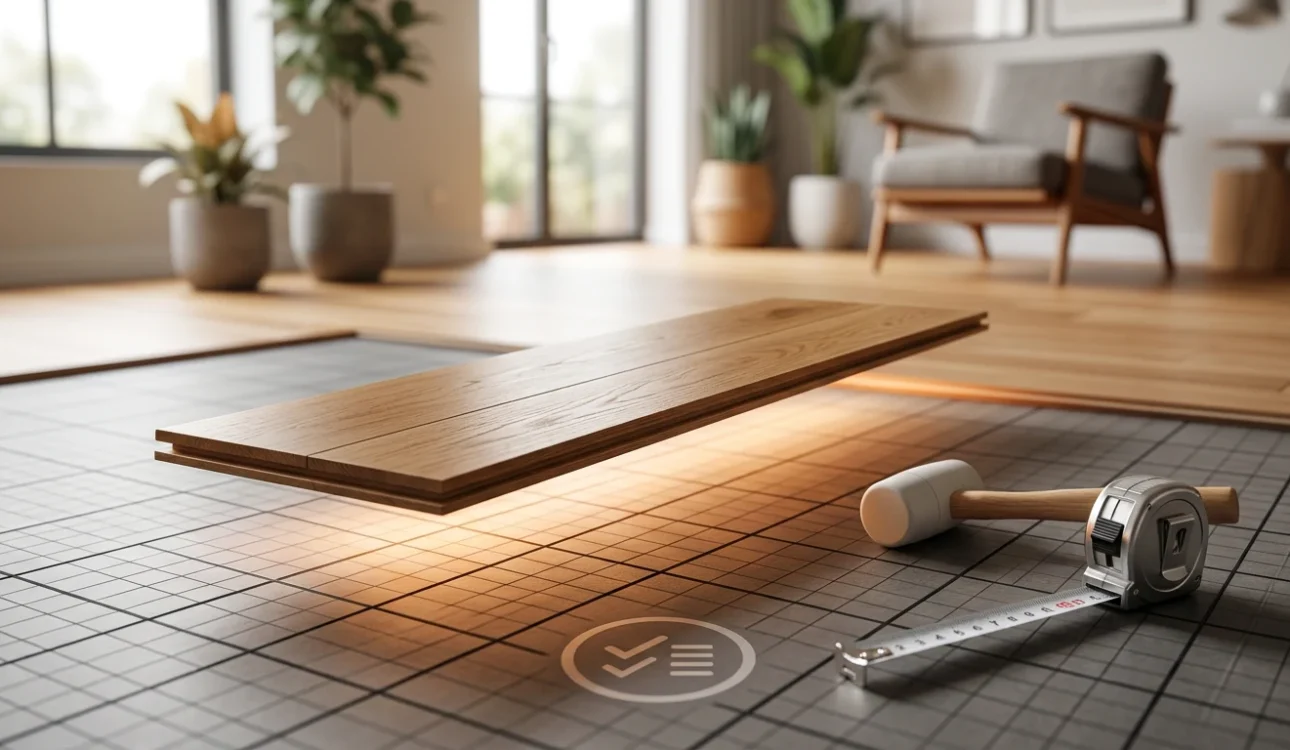
Prerequisites & Preparation
Before beginning, gather essential tools: a miter saw or circular saw, a tapping block, a pull bar, a spacer (typically ¼-inch), a moisture meter, and a level. Rental costs for specialized equipment run $50–$150 per day if you lack these items. Assess your subfloor's condition using a moisture meter; floating floors require subfloor moisture levels below 12% to prevent warping. If your subfloor shows moisture damage, soft spots, or significant unevenness (more than ⅛-inch over 10 feet), address these issues first or consider professional installation.
Clear the room completely and allow materials to acclimate. According to Urban Surfaces' installation guidelines, floating floor materials must acclimate for at least 48 to 72 hours in the installation room at temperatures between 65–85°F to prevent buckling and gapping. This step is non-negotiable; rushing past acclimation causes expansion and contraction issues that compromise the entire installation.
Installation Steps
Step 1: Install Underlayment
Lay underlayment across the entire subfloor, overlapping seams by 6 inches and taping them. Underlayment provides moisture protection, sound dampening, and a smooth surface for planks to rest upon. This barrier prevents subfloor imperfections from telegraphing through your new floor.
Step 2: Establish Starting Lines
Measure the room and snap chalk lines to identify the center point. Starting from the center and working outward ensures balanced plank widths at room edges, creating a polished appearance. Use a level to verify your first row is perfectly straight—this foundation determines alignment for every subsequent row.
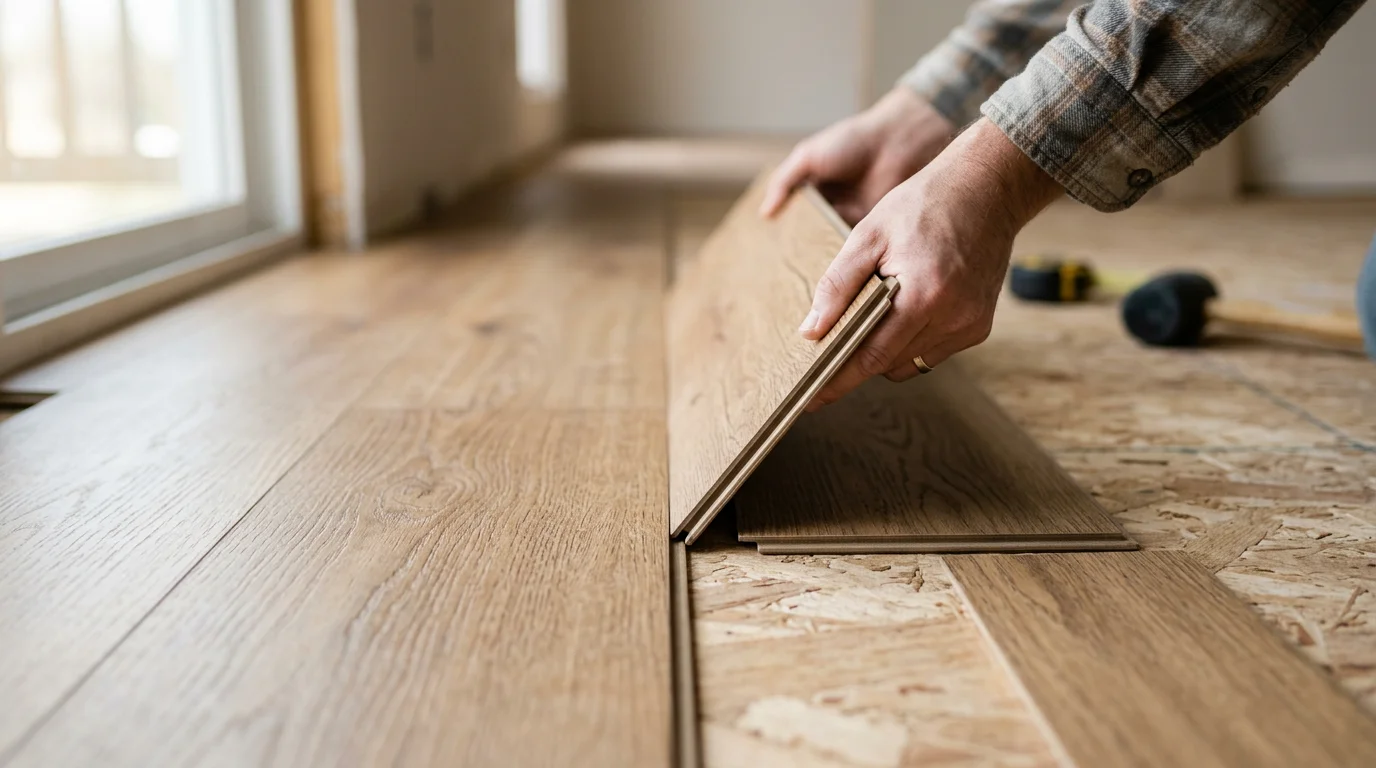
Step 3: Install the First Row
Place spacers (¼-inch) along the wall to maintain expansion gaps. Insert the first plank's tongue into the groove of the second plank at a 45-degree angle, then lower it flat and tap with a tapping block to lock. Never strike planks directly; the tapping block distributes force evenly and prevents damage. Continue this row across the entire room length.
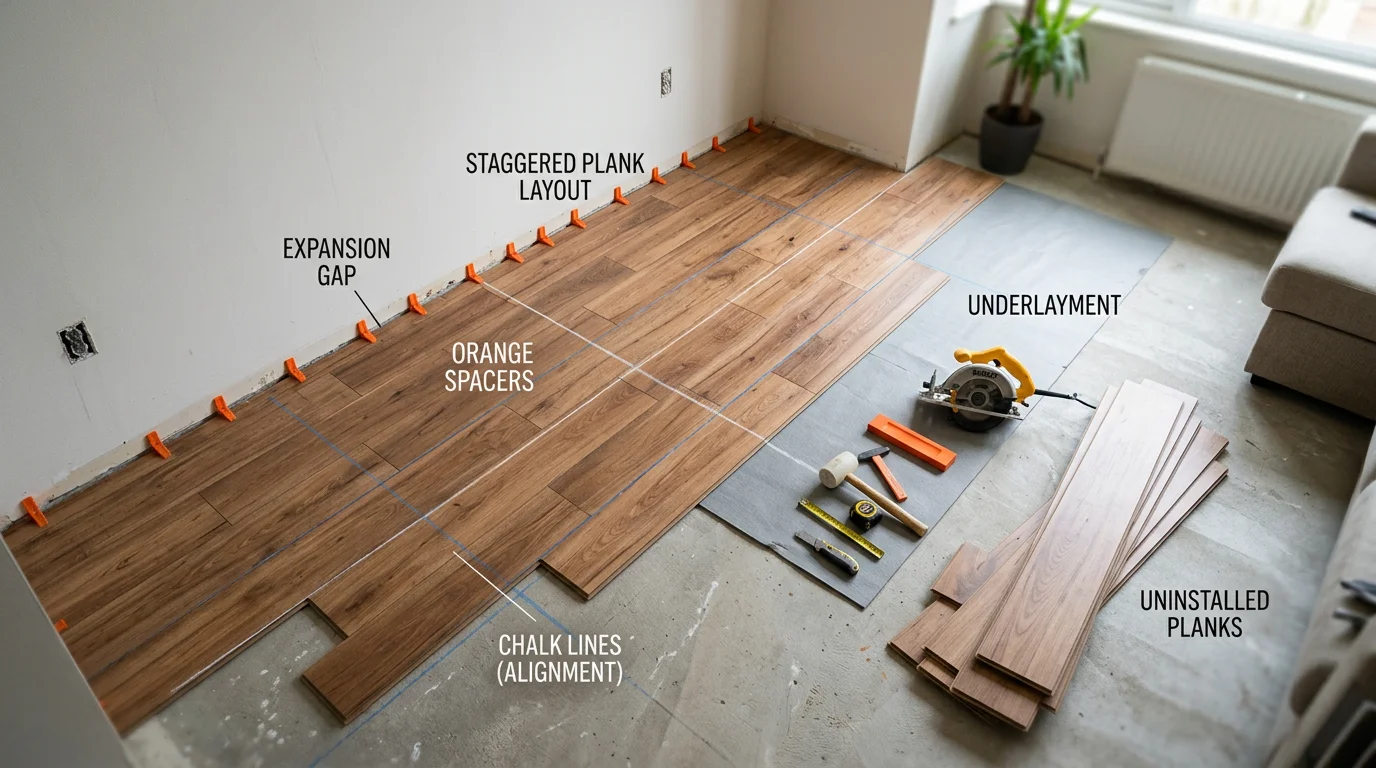
Step 4: Stagger Subsequent Rows
Offset each new row by at least 6 inches—stagger the end joints so they don't align vertically. This pattern distributes stress and strengthens the floor's structural integrity. Insert each plank at 45 degrees, lock the long edge, then lower and tap the short edge into place.
Step 5: Handle Cut Planks
Measure and cut planks as needed, using a pull bar to draw the final plank in each row snugly against its neighbor. The pull bar prevents hand injuries and ensures tight locking without damaging the plank edge. Always cut the tongue side when possible to simplify installation.
Step 6: Complete the Final Row
The last row typically requires ripping planks lengthwise to fit. Measure the gap (accounting for the ¼-inch expansion spacer), subtract that amount from plank width, and cut accordingly. This row demands precision; use shims and the pull bar to seat planks firmly.
Finishing & Common Mistakes
Once installation is complete, remove all spacers and allow the floor to settle for 24 hours before walking on it heavily. Install transition molding at doorways and room edges to cover expansion gaps and create clean lines. If you're installing floating floors in moisture-prone areas like bathrooms, ensure your underlayment includes a vapor barrier and consider consulting our design guidance on bathroom flooring solutions.
Common pitfalls: Skipping acclimation causes cupping and gapping. Failing to maintain expansion gaps (especially at walls and transitions) forces planks to buckle. Uneven subfloors create hollow spots and squeaking—always verify flatness before starting. Rushing the locking process damages grooves, compromising future rows.
At WAREMODEL, we've observed that DIY installers save 40–60% on labor costs, though professional assessment of complex layouts or compromised subfloors often proves worthwhile. When in doubt, consult a specialist before proceeding.
Common Questions About Floating Floors Answered
Homeowners considering floating floors often arrive at the same practical concerns. Understanding these common questions helps clarify whether this installation method suits your remodeling project.
Can I install floating floors over existing carpet? No—carpet must be removed entirely. The soft, compressible surface prevents proper underlayment contact and allows planks to shift unpredictably. Always remove carpet down to the subfloor, then assess the subfloor condition before proceeding. If you're transitioning between rooms with different flooring types, transition molding bridges the height difference cleanly.
Should I hire a professional or tackle installation myself? DIY installation works well for straightforward rectangular rooms with minimal obstacles. However, complex layouts, diagonal patterns, or compromised subfloors benefit from professional assessment. At WAREMODEL, we've found that homeowners save 40–60% on labor costs with DIY installation, though the time investment typically spans several days depending on room size. If your subfloor shows significant unevenness or moisture issues, professional evaluation prevents costly mistakes.
Is underlayment really necessary? Yes. Underlayment serves three critical functions: it absorbs sound, provides cushioning, and—crucially—includes a vapor barrier in moisture-prone areas. Skipping underlayment creates hollow spots, amplifies footstep noise, and invites moisture damage. This is a false economy; the cost difference is minimal compared to replacement expenses.
Why do floating floors buckle? Buckling occurs when expansion gaps aren't maintained at walls and transitions. Floating floors need space to expand and contract with humidity changes. If planks are forced tight against walls, they have nowhere to move and will bow upward. Always maintain a ½-inch gap around room perimeters and use spacers during installation.
How long must I acclimate materials before installing? Most floating floor materials require 48–72 hours in the room where they'll be installed, allowing them to adjust to local temperature and humidity. Skipping acclimation is the leading cause of cupping and gapping post-installation. Store materials flat in the space, maintaining normal room conditions throughout this period.
Making the Right Floating Floor Choice for Your Home
Floating floors represent a practical convergence of affordability, ease of installation, and design flexibility—making them an intelligent choice for homeowners undertaking remodeling projects. Whether you're refreshing a single room or overhauling your entire home, the benefits of floating floor installation extend beyond the immediate appeal of a new surface. You gain faster project completion, lower labor costs, and the freedom to change your flooring later without permanent structural commitments.
The real strength of choosing a floating floor lies in its alignment with modern living priorities. These systems accommodate life's natural changes—from family growth requiring layout adjustments to evolving aesthetic preferences. Unlike traditional nailed or glued installations, floating floors don't demand permanent decisions. This flexibility, combined with the straightforward installation process, means you can tackle the project yourself or bring in professionals with confidence that the work will be completed efficiently and correctly.
At WAREMODEL, we understand that remodeling is ultimately about creating more space for the important things in life. Floating floors support this philosophy by delivering practical results: improved acoustics through proper underlayment, reduced installation timelines, and the ability to reconfigure spaces as your needs evolve. When paired with thoughtful design choices—whether selecting laminate durability, vinyl water resistance, or authentic wood aesthetics—floating floors become the foundation for spaces that genuinely work for your household.
Ready to explore how floating floors can transform your home? Consider consulting with remodeling professionals who can assess your specific space, recommend appropriate materials for your lifestyle, and ensure proper installation. The investment in getting these fundamentals right pays dividends in longevity, comfort, and the peace of mind that comes from a well-executed remodeling project.