Quick Answer:
To properly care for vinyl plank flooring, clean weekly with a microfiber mop and pH-neutral cleaner, avoid excess water and harsh chemicals, and address spills immediately. Well-maintained vinyl plank floors can last 10-20 years with consistent upkeep—the same time frame as premium hardwood at a fraction of the cost.Key Takeaways:
Weekly cleaning with the right tools prevents dirt buildup and maintains appearance
Immediate spill response stops water damage and staining before they occur
Avoiding harsh chemicals protects the wear layer and prevents surface degradation
Professional maintenance every 2-3 years extends lifespan significantly
Table of Contents
Why Vinyl Plank Flooring Requires Care
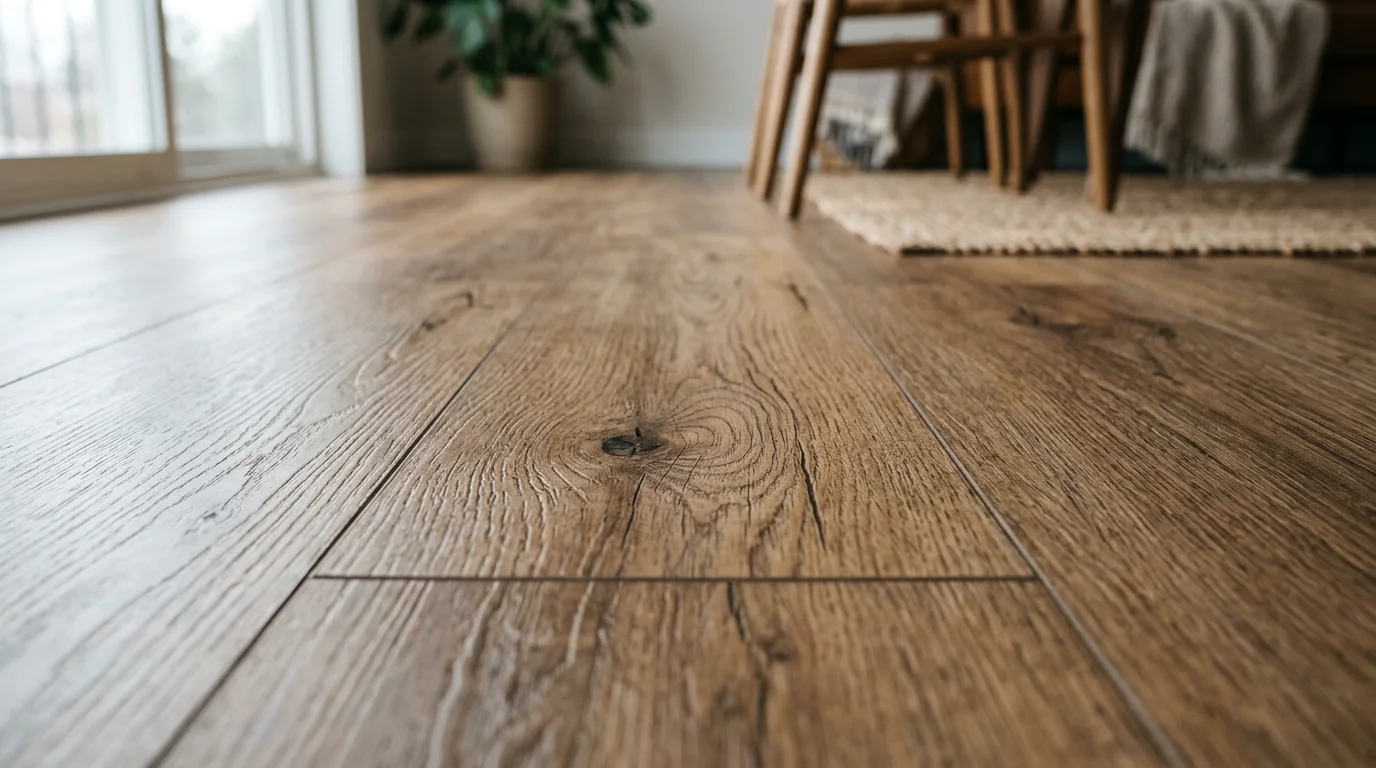
Vinyl plank flooring has become a dominant choice in modern homes—for good reason. According to Grand View Research, Luxury Vinyl Tiles (LVT) and planks led the market with a 64.7% revenue share in 2024, with continued growth at a projected 5.9% CAGR. This isn't just because of aesthetic appeal or price point. Homeowners recognize that vinyl planks offer durability comparable to hardwood when properly maintained.
But here's what many people don't realize: the wear layer on vinyl planks is vulnerable to specific threats. Unlike sealed hardwood that can tolerate some moisture, vinyl planks can separate or cup if exposed to standing water. Unlike tile that can handle aggressive scrubbing, vinyl's protective layer can dull with harsh chemicals. The good news? Understanding these vulnerabilities transforms maintenance from guesswork into a simple, repeatable system.
According to Floor Factors, well-maintained vinyl flooring can last between 10 to 20 years, with most residential-grade luxury vinyl tile and luxury vinyl plank flooring lasting this range depending on quality and maintenance practices. That's approaching hardwood territory without the refinishing costs.
The data supports this. The US vinyl floor covering market is substantial—Mordor Intelligence valued glue-down vinyl floor formats at USD 4.10 billion in 2025 alone. People are investing serious money in these floors. And unlike a temporary trend, vinyl plank adoption keeps growing because the ROI is undeniable when floors are properly cared for.
Essential Tools and Materials You’ll Need
Before you start caring for your vinyl plank flooring, assemble the right toolkit. Using the wrong tools is actually the #1 reason homeowners accidentally damage floors—not neglect, but misguided diligence.
Start with a microfiber dust mop. This is non-negotiable. Microfiber traps dust and pet hair mechanically, without requiring any cleaner. This single tool prevents 80% of the dirt that eventually dulls vinyl. Avoid regular cotton mops, which tend to leave streaks and require more liquid to rinse clean.
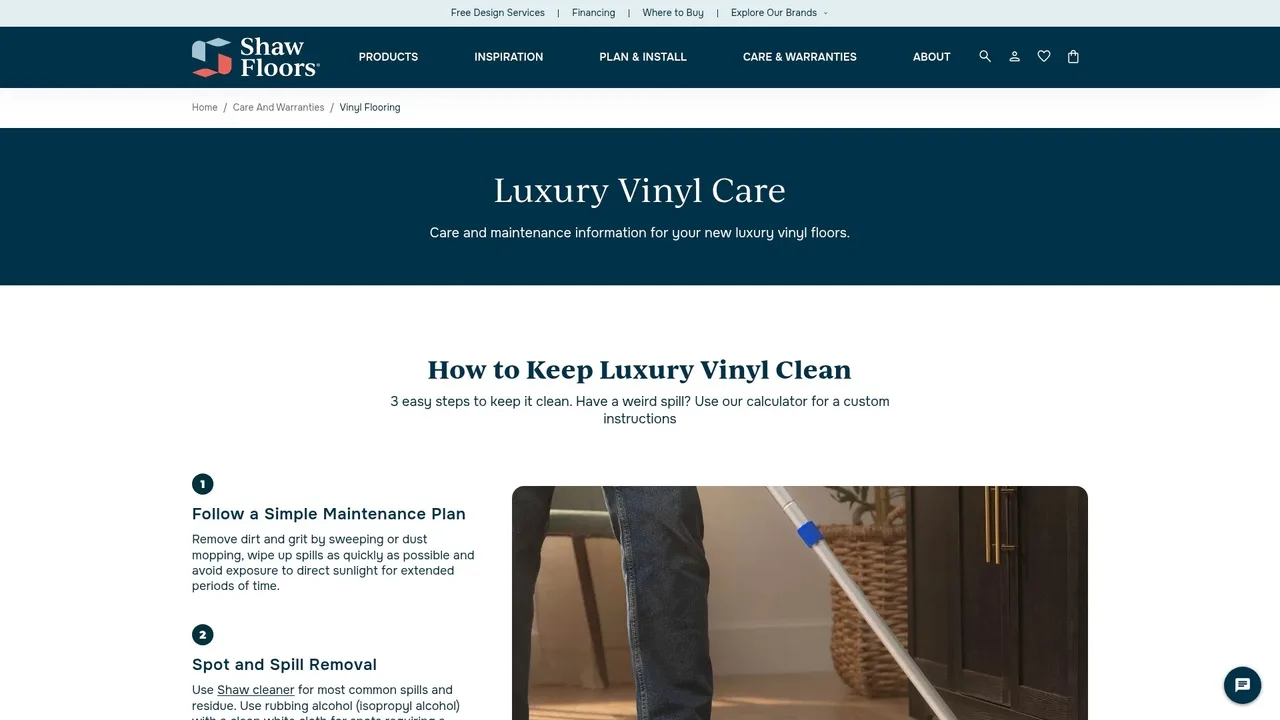
For actual wet cleaning, you need a pH-neutral vinyl floor cleaner. The chemistry matters more than the brand. Alkaline or acidic cleaners can compromise the protective wear layer over time. Shaw Floors, a major flooring manufacturer, specifically recommends pH-neutral solutions for maintaining vinyl. Store-brand "laminate and vinyl cleaner" formulations typically fit this profile, but check the label.
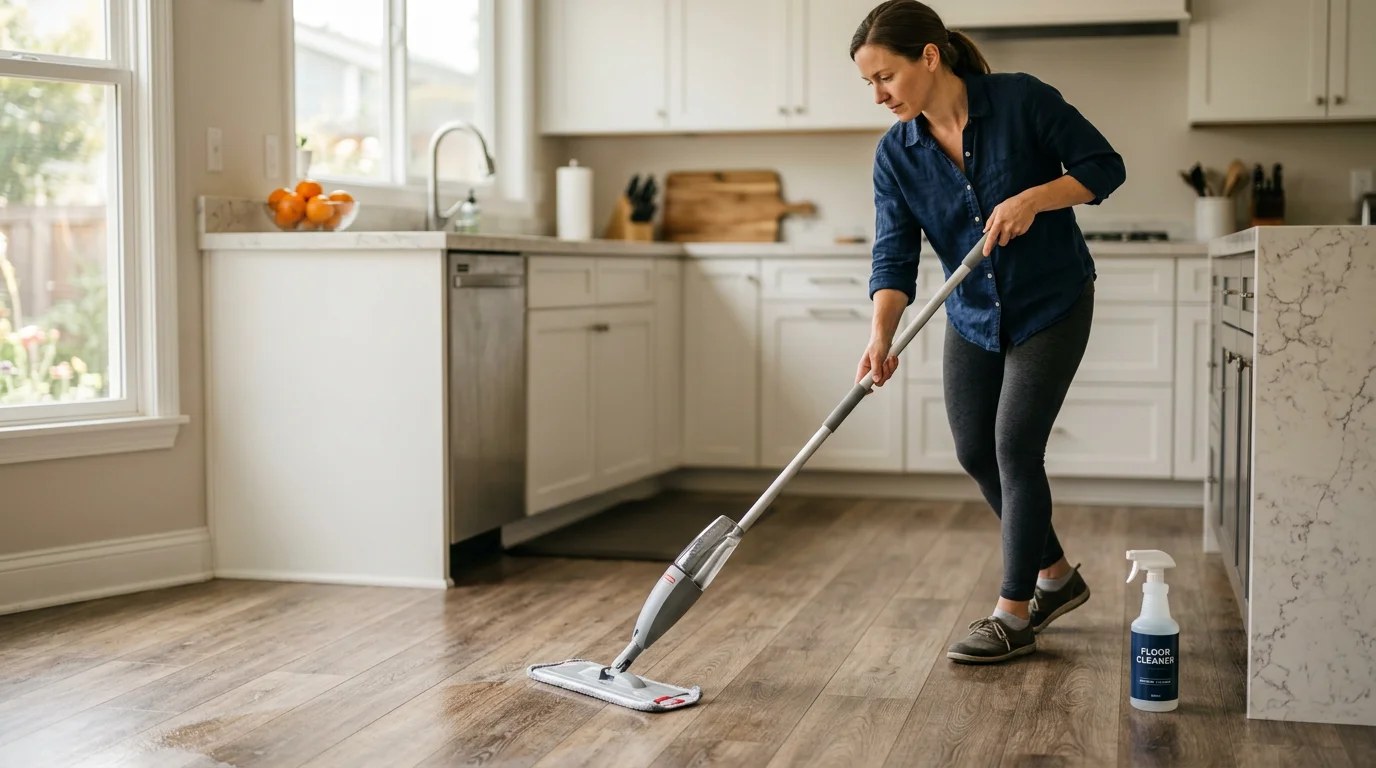
For the actual mopping tool, a spray mop or lightweight microfiber mop works better than traditional bucket-and-wringer mops. Why? Control. You're not dunking your flooring in water—you're misting it. This is the distinction that saves vinyl from water damage.
Keep lint-free cloths or paper towels on hand for immediate spill response. Keep a soft-bristled broom (not hard-bristled) for pre-cleaning before mopping. And consider a squeegee or dry microfiber mop for bathrooms and kitchens where moisture tends to accumulate. That's it. You don't need specialized vinyl-specific products or expensive equipment.
Daily Cleaning: Protecting Your Investment
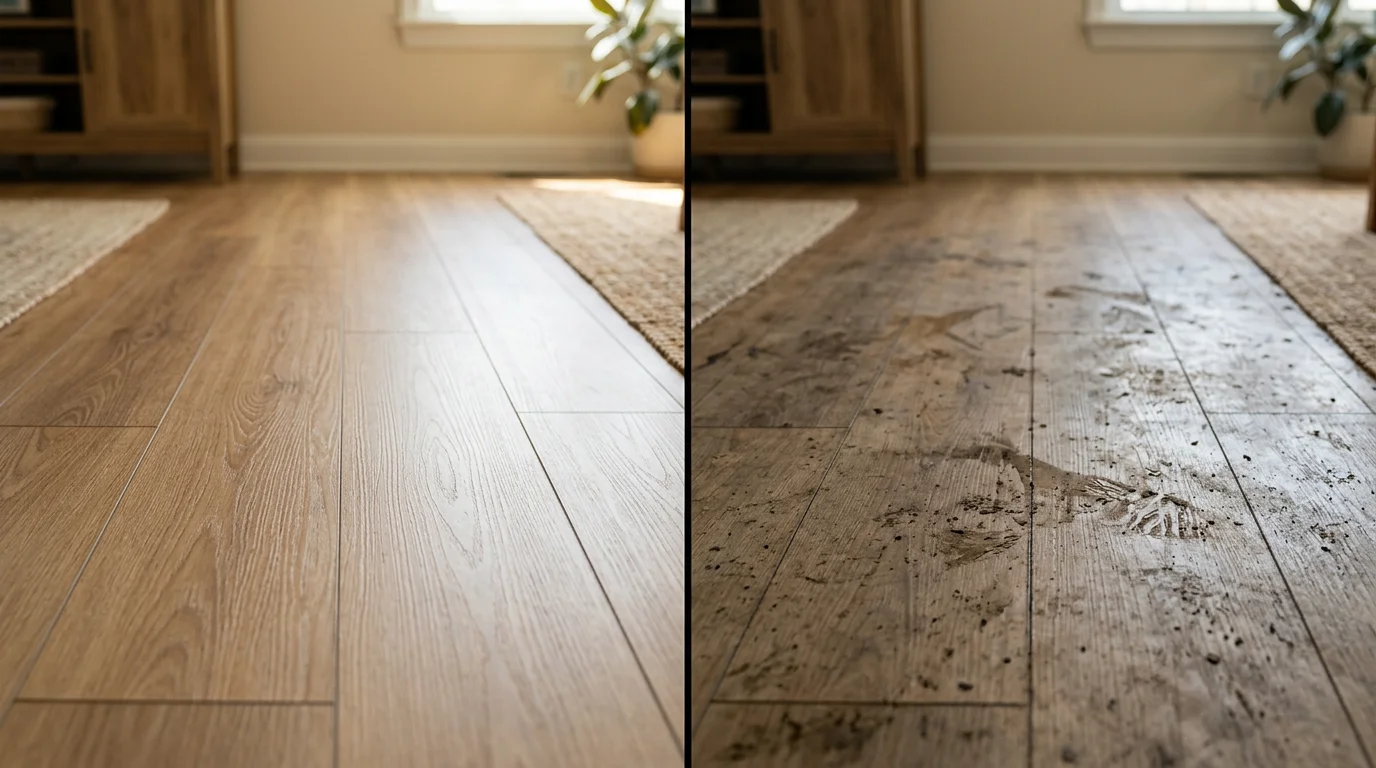
Daily care is where the magic happens. The reason vinyl floors last 10-20 years is almost never because of monthly deep cleans—it's because of what happens every single day.
Your daily routine takes 90 seconds: sweep with a soft-bristled broom, then do a quick microfiber dry mop. This removes dust, dirt, and pet hair before it gets ground into the seams and wear layer by foot traffic. In high-traffic areas like kitchen islands or entryways, do this twice daily. The investment pays off because you're preventing the tiny debris that causes micro-scratches.
For spills, the golden rule is immediate response. Water on vinyl isn't automatically a disaster, but standing water is. If you spill coffee, water, or juice, wipe it up within 10 seconds with a dry cloth. If you're worried about a stain, use a slightly damp cloth with that pH-neutral cleaner, then immediately dry the area with a second cloth. The entire process should take less than a minute.
Pet owners and families with children need to be especially vigilant with food spills. Sugary or acidic liquids can dull the finish if left sitting. This is where many people make mistakes—they assume a quick wipe isn't thorough enough, then return with a bucket of water that actually causes more damage.
Avoid walking across vinyl plank floors with wet shoes. This seems obvious, but the number of water rings and stains that result from this single habit is substantial. Consider a boot tray or mat near exterior doors, especially in rainy climates. This one addition extends floor life by years.
Weekly Deep Clean Method
Once a week, typically on the same day, perform a more thorough cleaning. This takes about 15-20 minutes for a typical home and prevents the buildup that makes floors look dingy.
Step 1: Clear the room. Move chairs, remove rugs, and pick up any objects on the floor. This isn't just about access—it prevents you from accidentally spraying cleaner near electronics or furniture.
Step 2: Dry mop thoroughly. Using your microfiber dust mop, sweep the entire area. This removes loose dust and debris that wet cleaning would simply push around or trap against baseboards.
Step 3: Prepare your cleaner solution. If using a spray mop, fill the reservoir with water and add a measured amount of pH-neutral vinyl cleaner. If mixing in a bucket (though spray mop is better), the ratio is typically 1 part cleaner to 10 parts water. Less is more—concentrate on coverage, not saturation.
Step 4: Mop in straight lines. Work methodically across the floor in one direction, then overlap on the return pass. This ensures even cleaning and prevents streaks. Pressure matters—you're not scrubbing. The mop should glide with light downward pressure. In the kitchen or bathrooms where grime builds up, you might need two passes.
Step 5: Target problem areas. Corners, under furniture, and along baseboards accumulate more dust. Spend an extra 10 seconds on these zones, but use the same gentle technique.
Step 6: Dry the floor. Here's where most people cut corners, and it's the mistake. After mopping, use a dry microfiber mop or lint-free cloth to remove excess moisture, especially around edges and seams. This prevents water from seeping between planks and causing separation.
The entire process becomes automatic after three weeks of practice. You'll develop a rhythm that takes less time than you'd spend streaming a show while cleaning.
Monthly Maintenance Tasks
Beyond daily sweeping and weekly mopping, monthly attention prevents problems before they escalate.
Inspect seams and edges for any separation or lifting. Vinyl planks expand and contract slightly with humidity and temperature changes. If you notice a seam starting to separate, this typically indicates humidity control issues in your home—not a flooring defect. Running a dehumidifier or improving ventilation addresses the root cause. You can seal minor seam separation with appropriate vinyl sealant (ask your installer for the right product), but this is a symptom of a moisture problem that needs fixing.
Check for any scratches or scuffs that might be starting to show wear. If you catch them early, specialized vinyl scratch repair kits can minimize visibility. These aren't invisible, but they're significantly less noticeable than deep scratches that expose the substrate.
Clean under furniture that normally stays in place. Move couches, beds, and chairs at least once a month to prevent dust accumulation and allow air circulation. This also prevents that "furniture shadow" effect where flooring under furniture darkens over time from dust settlement.
Vacuum under appliances like refrigerators and dishwashers. These are moisture and crumb magnets. Monthly attention prevents mold growth in seams, which can happen in humid climates if neglected.
Common Mistakes That Damage Vinyl Planks
Understanding what NOT to do is equally important as knowing what to do.
Mistake #1: Using too much water. This is the single biggest cause of vinyl plank failure. Water wicks into seams and swells the core material, causing buckling and separation. Many people assume "clean floor" requires wet mopping, but vinyl only needs mist-level moisture. If your mop drips when you lift it off the floor, you're using too much water. The mop should feel damp, not wet.
Mistake #2: Using vinegar-based cleaners. Vinegar is acetic acid. While it seems natural and inexpensive, it gradually degrades vinyl's protective coating. The same applies to lemon juice or other acidic solutions. They're fine for some surfaces, but vinyl specifically needs neutral pH. This is a case where "natural" and "effective for vinyl" are incompatible.
Mistake #3: Applying excessive pressure while mopping. Vinyl isn't sealed hardwood—aggressive scrubbing damages the wear layer. Use a light touch. If a stain won't come off with gentle pressure, it likely requires a specialty cleaner or professional intervention. Forcing it risks permanent damage to the finish.
Mistake #4: Ignoring edge protection. Vinyl is vulnerable at cut edges and seams. If you're moving heavy furniture, use furniture sliders rather than dragging. If you spill something near a seam, be extra thorough with drying. The edges are where water intrusion begins.
Mistake #5: Using wax or oil-based products. Vinyl doesn't need waxing. Modern vinyl has a permanent wear layer—wax actually dulls that layer and creates a sticky surface that shows footprints constantly. Avoid "shine-enhancing" products marketed for vinyl. They're often oil-based and cause more problems than they solve.
Mistake #6: Exposing vinyl to extreme temperature changes. Moving from a heated room directly onto cold vinyl (or vice versa) causes expansion and contraction stress. This rarely causes immediate damage but compounds over time. Maintain consistent home temperatures, and allow moved furniture to acclimate before placing directly on flooring.
When to Call Professional Help
While most vinyl plank care is DIY-friendly, certain situations warrant professional intervention.
Deep staining or discoloration that doesn't respond to pH-neutral cleaner might require industrial-grade stripping and resealing. Companies that specialize in vinyl floor maintenance have access to commercial-grade cleaners and restorative products that go beyond what's available to homeowners. Stanley Steemer and similar services maintain equipment specifically calibrated for vinyl's vulnerability to water—they use hot water extraction but with precise control to prevent over-saturation.
Refinishing or resealing every 2-3 years is optional but extends lifespan considerably. This involves cleaning, stripping the existing protective layer, and applying a fresh seal. If you've noticed your floor starting to dull despite good maintenance, this revitalizes the appearance and protection. Professional services cost $100-$300 for typical residential spaces, but the extended lifespan (2-3 additional years easily) makes it economical.
Large-scale water damage requires professional assessment. If a pipe has leaked under your flooring or flooding has occurred, the subfloor might be compromised. What looks like minor separation might indicate hidden moisture that'll worsen over time. Professional moisture detection prevents catastrophic failures months later.
Pet odor or biological stains sometimes require enzymatic cleaners or ozone treatment that go beyond standard mopping. If regular cleaning doesn't address the issue, professionals have tools to neutralize deep-set odors without damaging the vinyl.
Maximizing Your Flooring Lifespan
The 10-20 year lifespan mentioned by Floor Factors isn't a fixed outcome—it's the range achieved with variable care levels. Excellent care pushes toward 20 years. Neglect drops it to 8-10. A few strategic decisions maximize longevity.
Invest in area rugs in high-traffic zones. Entryways, hallways, and in front of sinks experience concentrated wear. A quality area rug (with a non-slip pad underneath) reduces wear on flooring dramatically. This is especially valuable in homes with multiple occupants or pets. The rug becomes the sacrificial layer, protecting the vinyl underneath.
Maintain stable indoor humidity. Vinyl expands and contracts with humidity swings. Keep indoor humidity between 30-50% year-round. In dry climates, this might mean running a humidifier in winter. In humid climates, air conditioning and dehumidifiers keep levels in check. This single factor might extend lifespan by 3-5 years because it prevents stress-related separation and buckling.
Use furniture pads under all legs of chairs, tables, and appliances. These simple rubber or felt pads redirect weight distribution and prevent the concentrated wear that creates divots in vinyl. Replace pads annually—they compress over time.
Keep UV exposure controlled. Direct sunlight causes vinyl to fade, particularly in rooms with large south-facing windows. This is aesthetic rather than structural damage, but preventable. Curtains or UV-blocking window film in bright rooms protects color consistency over years.
FAQ: Care for Vinyl Plank Flooring
Q: How often should I clean luxury vinyl plank flooring?
A: Weekly mopping is recommended by most manufacturers. Daily sweeping or vacuuming prevents dirt accumulation, and immediate attention to spills is essential. According to Shaw Floors, weekly cleaning prevents dirt buildup that can dull the finish. High-traffic areas may benefit from twice-weekly cleaning.
Q: Can I use a steam cleaner on vinyl plank floors?
A: Most vinyl plank manufacturers recommend against steam cleaning. The high heat and moisture combination can cause seams to separate and the wear layer to blister. Stick with cool or lukewarm water-based cleaning methods.
Q: What's the best way to remove stubborn stains from vinyl plank?
A: For sticky residue, use a slightly damp cloth with minimal pressure. For organic stains, a small amount of isopropyl alcohol on a cloth can help—immediately follow with a dry cloth. For permanent stains, specialized vinyl stain removers exist, but professional cleaning services are more effective for deep set-in marks. Never use abrasive scrubbing—it damages the wear layer.
Q: Should I use mats and rugs on vinyl plank flooring?
A: Yes, rugs in high-traffic areas protect flooring from wear and prevent water damage in kitchens and bathrooms. Always use non-slip pads underneath to prevent moisture trapping that could cause warping.
Q: How do I prevent vinyl planks from separating?
A: Separation typically results from humidity fluctuation. Maintain indoor humidity between 30-50%, ensure proper sealing of exterior doors and windows, and run exhaust fans during showers. If minor separation occurs, avoid forcing planks back together—address the humidity issue first.
Q: Can I use bleach on vinyl plank flooring?
A: No. Bleach is highly alkaline and will damage vinyl's wear layer. Stick to pH-neutral cleaners designed specifically for vinyl. If you need disinfection, 70% isopropyl alcohol applied sparingly is acceptable, but pH-neutral cleaners are preferred.
Q: What should I do if my vinyl plank floor is dull and scratched?
A: Minor dulling often responds to a thorough clean with pH-neutral cleaner and proper drying. For persistent dullness, professional resealing rejuvenates the appearance. Minor scratches can be minimized with vinyl scratch repair kits. Deep scratches or gouges may require plank replacement if they're severe.
Q: How long do vinyl plank floors really last?
A: According to Floor Factors, well-maintained vinyl plank flooring typically lasts 10-20 years, with lifespan determined by quality, installation, and maintenance consistency. Premium planks with excellent care approach the 20-year mark.
Q: Is vinyl plank flooring worth the investment?
A: Yes, particularly when you understand the maintenance requirements. Vinyl offers appearance comparable to hardwood or stone at significantly lower cost, without refinishing requirements. The US vinyl floor covering market valued at USD 4.10 billion in 2025 reflects strong consumer confidence. When properly maintained, vinyl planks deliver excellent value and aesthetic appeal.
Conclusion: Invest in Care Today, Enjoy Floors for Years
Care for vinyl plank flooring isn't complicated—it's consistent. Weekly mopping with a pH-neutral cleaner, immediate spill response, and monthly inspections create a system that protects your investment and keeps your floors looking fresh for 10-20 years.
The difference between flooring that disappoints after 8 years and flooring that looks excellent after 15 years isn't luck or quality variation—it's maintenance approach. You now understand the specific vulnerabilities of vinyl (water, harsh chemicals, scratches) and the simple practices that protect against them.
If you're planning a kitchen or bathroom renovation and want vinyl plank flooring that's installed correctly and maintained optimally, WAREMODEL specializes in complete flooring projects including installation and maintenance guidance. We've seen firsthand how proper installation paired with good care practices extends floor lifespan significantly. Our remodeling services throughout the Seattle and Tacoma areas include consultation on flooring care, ensuring your investment is protected from day one.
The maintenance routine you establish today—90 seconds of daily sweeping, 15 minutes of weekly mopping, monthly attention to problem areas—transforms what could become a maintenance headache into a simple system that protects your home's appearance and structural integrity. Your future self, walking across floors that still look pristine years from now, will thank you for starting today.