What You Need to Know Before Installing an Onyx Shower Base
Choosing an onyx shower base isn’t just about luxury—it’s a smart upgrade that combines durability, elegance, and long-term value. Known for its natural veining and glossy finish, onyx brings a high-end spa feel to any bathroom while resisting moisture and wear when properly sealed. Whether you're doing a full bathroom overhaul or a targeted refresh, installing an onyx shower base can anchor the space with sophistication. It’s a centerpiece material that demands attention but also requires precision during installation. If you’re aiming for pro-level results, understanding the process upfront is key.
Installing an onyx shower base typically involves preparing a stable subfloor, dry-fitting the base, applying a bed of mortar, setting the unit, and sealing all edges to prevent water intrusion. With the right tools and attention to slope and alignment, most DIYers can complete the job in 6–8 hours over one weekend day sourceName.
This guide walks you through every phase of how to install onyx shower base correctly—from assessing your bathroom layout to final cleanup. For broader context on modern bathroom transformations, check out our full breakdown of innovative bathroom and kitchen design strategies for 2026.
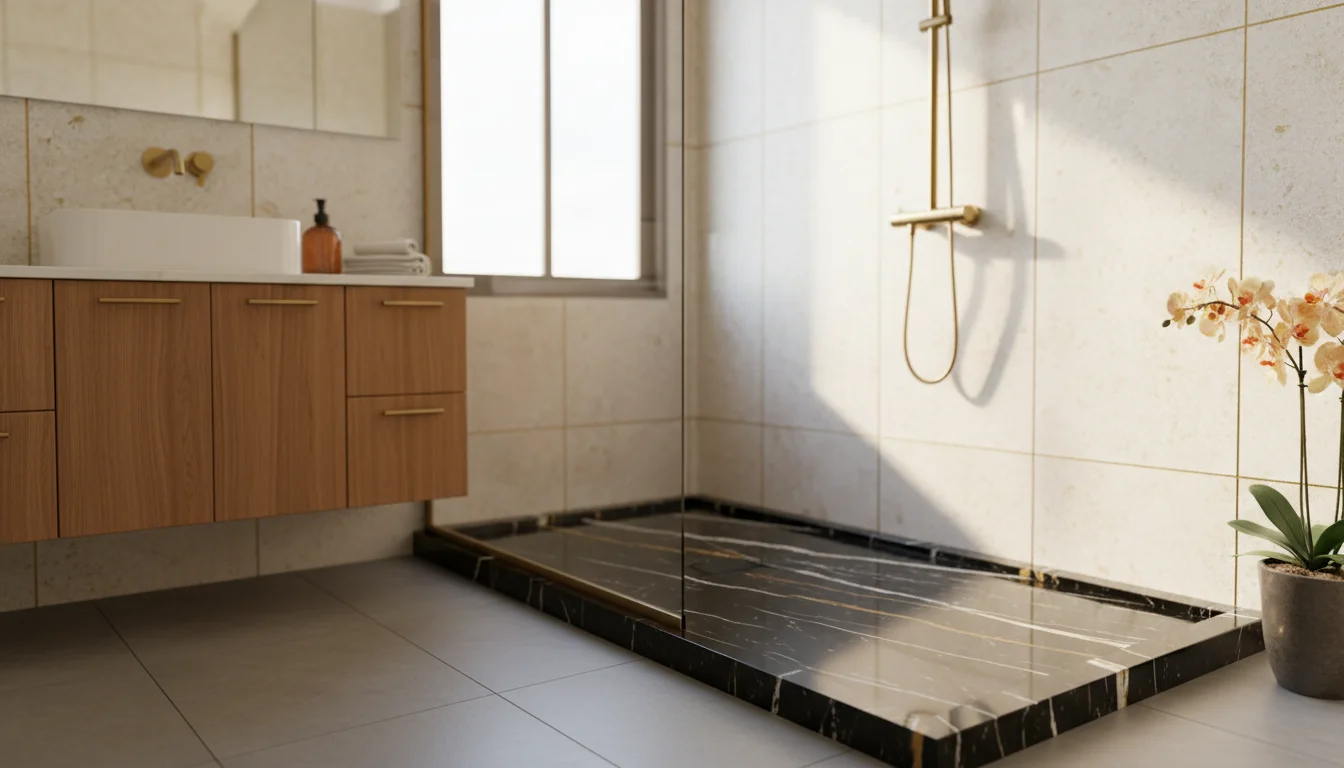
Luxury bathroom featuring a professionally installed onyx shower base with natural stone aesthetics
Table of Contents
- What You Need to Know Before Installing an Onyx Shower Base
- Why Onyx Shower Bases Are a Premium Choice for Modern Bathrooms
- Tools and Materials Needed for Onyx Shower Base Installation
- Step-by-Step Process to Install an Onyx Shower Base
- Common Challenges During Onyx Shower Base Installation and How to Fix Them
- How Long Does It Take to Install an Onyx Shower Base?
- Post-Installation Care and Maintenance Tips for Onyx Bases
- DIY vs. Hiring a Pro: Is Installing an Onyx Shower Base Right for You?
- Frequently Asked Questions About Installing Onyx Shower Bases
- Final Tips for a Successful Onyx Shower Base Installation in 2026
Why Onyx Shower Bases Are a Premium Choice for Modern Bathrooms
Choosing the right shower base isn't just about function—it’s a design decision with long-term implications for durability, maintenance, and aesthetic cohesion. Onyx shower bases stand out in the premium segment for good reason: they combine the luxurious depth of natural stone with the consistency and resilience of advanced composite materials. Unlike acrylic or fiberglass, which can feel thin underfoot and are prone to flexing and discoloration over time, onyx units are built to maintain their integrity and visual richness for decades.
The material itself is a proprietary blend of polyester resin, alumina trihydrate, and color pigments—engineered for superior impact resistance and non-porous performance. This composition makes it naturally resistant to water absorption and microbial growth, critical for any wet environment. Because it's non-porous, sealing is minimal compared to natural stone, yet it still delivers that high-end, organic luster that elevates a bathroom from ordinary to spa-like. When you install onyx shower base units, you're not just adding a functional component—you're anchoring the space with a statement piece.
Aesthetic flexibility is another major advantage. The Onyx Collection gives customers a choice of over 45 colors and 89 standard base sizes, allowing for tailored fits and coordinated color schemes that align with broader design visions The Onyx Collection. Whether your style leans toward minimalist monochrome or rich, earthy tones, there's an onyx finish to match. This level of customization supports seamless integration into innovative bathroom layouts, especially those prioritizing continuity between flooring, walls, and fixtures.
While acrylic and fiberglass bases dominate the budget market, they often sacrifice long-term value for short-term savings. Onyx, by contrast, holds its finish, resists scratches, and doesn’t degrade under UV exposure—key considerations for naturally lit bathrooms. For homeowners investing in long-term remodeling value, selecting an onyx base aligns with the principles of durable, elegant design explored in our full guide to innovative remodeling trends for 2026.
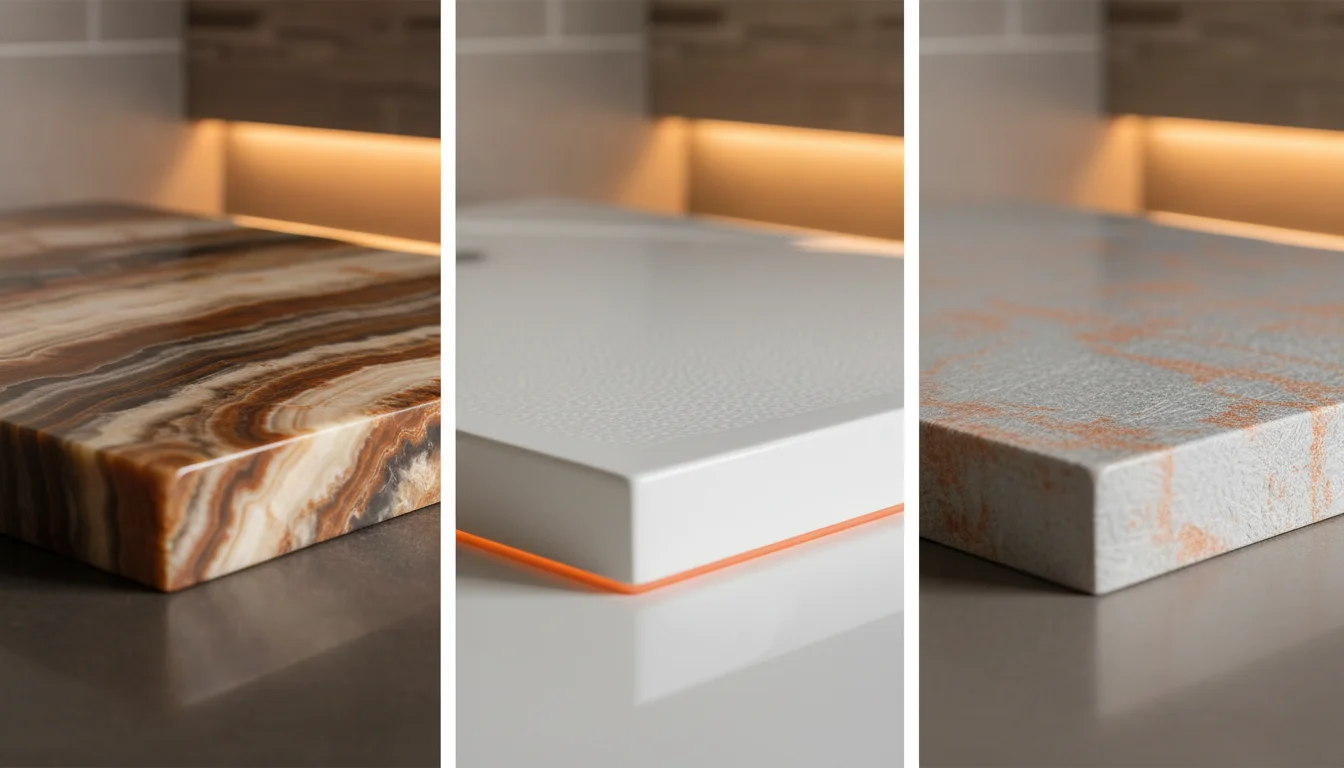
Visual comparison of onyx versus acrylic and fiberglass shower bases, emphasizing material quality and longevity
Tools and Materials Needed for Onyx Shower Base Installation
Before you begin to install an onyx shower base, gather the right tools and materials. This isn’t a project where improvisation pays off—precision and preparation are key. Onyx, while incredibly durable, demands a stable, level substrate and secure anchoring to prevent stress fractures over time. Start with structural support: pressure-treated wood or cement board for curb and perimeter framing, and ensure your subfloor is solid and free of deflection. Remember, an Onyx shower wall panel is approximately 5/16 inch thick and weighs about 3.5 pounds per square foot Capitol Kitchens and Baths, so the base must be properly supported to handle both dead and live loads without shifting.
For adhesion, use a high-quality polymer-modified thin-set mortar—look for formulations labeled for natural stone or solid surface applications. Avoid standard mastic; it won’t provide the bond strength needed. You’ll also need 100% silicone sealant in a color that matches or complements your onyx, specifically for perimeter and joint sealing. Flashing tape (butyl or acrylic) is essential for waterproofing transitions between the base and walls, especially at inside corners and curb joints.
Critical tools include a notched trowel (1/4" x 1/4"), level, laser level or long straightedge, utility knife, caulk gun, wet saw with a diamond blade (for any field cutting), and a rubber mallet for seating the base without damage. Safety gear—cut-resistant gloves, safety glasses, and a dust mask—are non-negotiable during cutting and installation. Don’t forget shims to fine-tune the base’s pitch toward the drain. For long-term performance, pair your installation with proper waterproofing practices, a principle emphasized in our guide to innovative remodeling trends for 2026.
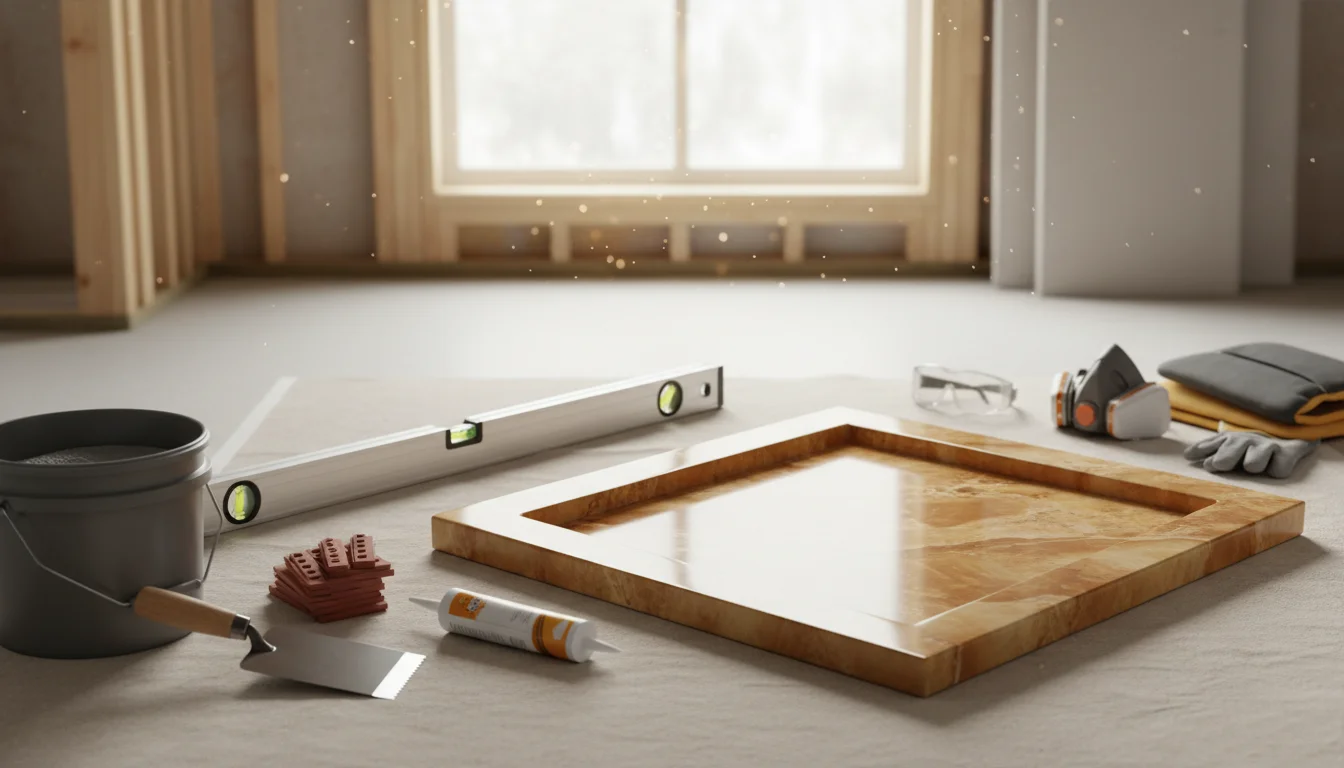
Essential tools and materials for a successful onyx shower base installation
Step-by-Step Process to Install an Onyx Shower Base
Start by removing any existing shower base, tile, or flooring material down to the subfloor. Inspect the structural integrity of the floor framing and repair any rot or damage. The subfloor must be solid—ideally 3/4-inch plywood or OSB—to support the weight without deflection. Once the area is cleared and sound, dry-fit the Onyx shower base in place to confirm fit and alignment with wall framing. These bases come pre-sloped with a 1/4 inch per foot gradient toward the drain, ensuring efficient water flow The Onyx Collection. The standard full-height curb stands approximately 4 inches tall, providing a secure threshold while maintaining accessibility.
Next, prepare the mortar bed. Mix a pre-blended mortar to a workable consistency—stiff enough to hold shape, but pliable enough to spread. The bed must be at least 1.5 inches thick at its thinnest point and maintain a uniform 1/4 inch per foot slope to the drain CTASC. Begin at the farthest corner from the door and work toward the drain, using a notched trowel to comb ridges into the mortar. Set the Onyx base into the bed, pressing down firmly and using a rubber mallet to gently tap it level. Check alignment with a level and laser or long straightedge, adjusting with shims underneath if necessary. Avoid over-compression—this can flatten the slope and create pooling.
With the base seated and level, seal all joints between the pan and surrounding walls. Apply a continuous bead of butyl or acrylic waterproofing tape along inside corners and curb connections. This critical step prevents water infiltration behind tile or backer board. Let the mortar bed cure undisturbed for 24 hours before proceeding Sakrete. Tiling should begin within 16 hours of mortar installation if using a bonded waterproofing method, but always confirm compatibility with your specific materials. Proper execution here ensures decades of leak-free performance. For more advanced waterproofing strategies, see our guide to innovative remodeling trends for 2026.

Visual step-by-step guide to installing an onyx shower base with proper mortar application and sealing
Common Challenges During Onyx Shower Base Installation and How to Fix Them
Even with meticulous prep, installing an onyx shower base can throw surprises. This natural stone is stunning but demands precision—common issues like cracking, uneven slopes, or misaligned drains can compromise both function and aesthetics if overlooked. Recognizing these pitfalls early and knowing how to address them makes all the difference between a luxury finish and a costly callback.
Cracking is one of the most frequent concerns, often stemming from improper support or stress during installation. Onyx is more brittle than porcelain or acrylic, so any voids beneath the pan or an uneven mortar bed can lead to fractures under load. Always perform a "tap test" across the surface after setting—hollow sounds indicate insufficient support. Fill gaps with additional mortar and recheck level before proceeding. Never walk on the base or place heavy tools directly on it until the tile and grout are fully cured.
Improper slope is another silent failure point. Water pooling near the walls instead of flowing toward the drain usually means the pre-slope or final bed wasn’t graded correctly. The ideal pitch is 1/4 inch per foot, directing water efficiently without creating thin spots near the drain. If you catch poor slope early, rework the mud bed before setting the liner. Once the pan is in, minor drainage issues can sometimes be corrected with a thicker tile bed at the perimeter, but prevention is far better.
Misaligned drains are frustrating but avoidable. Measure twice—confirm the drain’s location matches your base’s cutout before securing the waste pipe. A 1/2-inch offset might seem minor, but it can prevent a proper seal and create a trip hazard. Use adjustable drain assemblies when possible for fine-tuning during final fitment. And always cap the drain during installation to prevent debris from clogging the trap.
Warping or bowing of the base during transport or handling is rare but serious. Onyx slabs should be stored flat and handled with suction lifters. If a base arrives with a noticeable curve, do not attempt to force it into place—it will crack under pressure. Contact the supplier for a replacement; cutting corners here risks total failure.
For those planning complex bathroom transformations, understanding these challenges fits into a broader picture of smart design and execution. Explore our guide to innovative remodeling trends for 2026 to align your installation with future-ready techniques and materials.
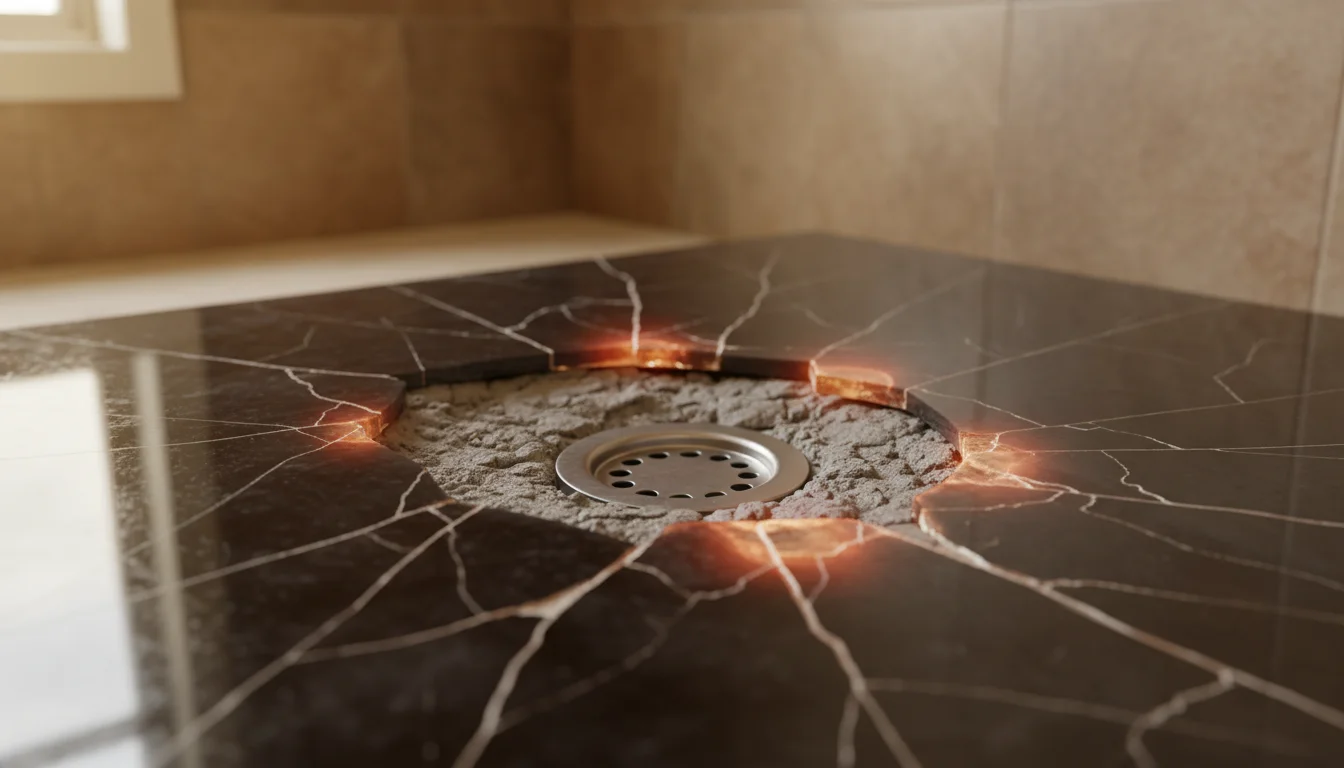
Common installation errors in onyx shower bases with visual explanations and corrective steps
How Long Does It Take to Install an Onyx Shower Base?
Planning a bathroom upgrade? Timing is everything — especially when you're coordinating contractors, work schedules, and daily routines. While installing an onyx shower base is a precision task, the timeline is predictable with proper preparation. Most basic setups take 2 to 3 days from start to finish, including surface prep, placement, sealing, and curing Titan Bathworks. The active work — removing the old base (if applicable), leveling the subfloor, and setting the Onyx unit — typically fits within a single day, clocking in at 4 to 8 hours depending on complexity and access.
But don’t rush the final stage. Even if the base looks perfect the moment it’s set, you must allow 24 to 48 hours for grout and sealants to fully cure before using the shower EZ Bath. Skipping this wait risks water infiltration, which can compromise adhesion and lead to long-term damage. For those aiming to minimize downtime, consider scheduling the install mid-week so the weekend can serve as a built-in curing buffer. And if your project involves custom tiling or integrated bench seating, factor in additional labor time — these design enhancements extend the hands-on phase but elevate the end result. For faster turnarounds without sacrificing quality, explore modular designs detailed in our guide to planning quick remodels. Smart planning today means stepping into your new shower on schedule — and without regrets.
Post-Installation Care and Maintenance Tips for Onyx Bases
Installing an onyx shower base is just the beginning. True craftsmanship shows in how well you maintain it. Onyx is a luxurious natural stone, prized for its translucency and depth, but it’s also porous—meaning it needs consistent care to resist stains, moisture, and chemical damage. To keep your install onyx shower base looking pristine for decades, start with the basics: clean it weekly with a pH-neutral stone cleaner and water. Harsh or acidic cleaners—like vinegar, bleach, or citrus-based sprays—will etch the surface over time, dulling its polish and weakening its integrity Ultra Stones.
Beyond routine cleaning, sealing is non-negotiable. Even with high-quality fabrication and precise installation, unsealed or under-sealed onyx is vulnerable. For optimal protection, reapply a breathable stone sealer every 12 to 18 months. This simple step creates a hydrophobic barrier that repels water and prevents soaps, oils, and hard water minerals from penetrating the stone SMC Construction. After each shower, make it a habit to squeegee the walls and base—this reduces mineral buildup and makes weekly cleaning faster.
Avoid abrasive scrubbers or steam cleaners, which can micro-scratch the finish. Instead, treat your onyx like the natural artwork it is: with gentle, deliberate care. For those planning a full bathroom transformation, consider pairing your onyx base with other low-maintenance, high-impact materials—our guide to designing innovative kitchens and bath spaces offers inspiration for cohesive, future-ready designs. With the right habits, your onyx shower won’t just endure—it will age beautifully.
DIY vs. Hiring a Pro: Is Installing an Onyx Shower Base Right for You?
Deciding whether to install an onyx shower base yourself or hire a professional isn’t just about skill—it’s about weighing long-term value against upfront savings. Onyx is a natural stone with stunning visual depth, but it’s unforgiving when misaligned, improperly supported, or poorly sealed. A flawless install demands precision in leveling, waterproofing, and seam integration—especially when pairing the base with matching wall panels. For experienced DIYers with tiling and plumbing know-how, a self-install might seem achievable. But one misstep in slope calibration or substrate prep can lead to pooling water, grout cracks, or worse: subfloor damage from chronic moisture exposure.
Let’s break down the real costs. The onyx shower base itself typically runs $800 to $1,500 for a standard size, with some 3’x4’ units priced between $600 and $800 Houzz. Add three wall panels and the total material cost can climb to around $4,000 B&M Home Improvement Solutions. Labor, however, is where the gap widens. Professional installation usually costs $1,200 to $2,500 The Pricer, with regional rates ranging from $65 to $150 per hour. In markets like Central Pennsylvania, full Onyx Collection bathroom projects start near $9,000 and can exceed $15,000 for custom layouts B&M Home Improvement Solutions.
Consider this comparison:
| Factor | DIY Installation | Professional Installation |
|---|---|---|
| Material Cost | $800–$4,000+ | Same |
| Labor Cost | $0 (your time) | $1,200–$2,500+ |
| Skill Required | Advanced | Handled by expert |
| Warranty Risk | May void if improperly installed | Typically preserved |
| Long-Term Performance | Variable | Consistently high |
“A perfectly leveled base is non-negotiable with natural stone—onyx won’t hide flaws like acrylic,” says a master installer from a Pennsylvania remodeling firm. “Even a 1/8-inch error can compromise drainage and seal integrity.”
Beyond cost and craftsmanship, consider your project’s scope. If you’re reworking plumbing, adding niches, or integrating steam systems, hiring a pro becomes even more strategic. For homeowners planning a full bathroom transformation, understanding how to plan innovative renovations can help align expectations, budget, and long-term value How to Plan Innovative Renovations: Complete Guide for 2026. In the end, installing an onyx shower base isn’t just a renovation—it’s a commitment to enduring elegance. Make sure it’s built to last.
Frequently Asked Questions About Installing Onyx Shower Bases
Can you install an onyx shower base over radiant floor heating? Yes—but only with the right precautions. A CPE shower pan liner is strongly recommended to protect the heating elements and ensure watertight integrity Oatey. When done correctly, radiant heat enhances comfort without compromising the stone’s performance.
How heavy is an onyx shower base? Expect significant weight: most units range from 100 to 200 pounds, depending on size. This exceeds the load of standard acrylic or fiberglass bases, so structural support must be verified before installation SMC Construction. Reinforcing floor joists or adjusting subflooring may be necessary, especially in upper-level bathrooms.
Is sealing an onyx shower base different from other materials? Absolutely. Onyx is porous and reactive, requiring a high-quality impregnating sealer applied both before and after grouting. Re-sealing every 1–2 years maintains protection against moisture and staining.
Can I DIY the install and still get a pro finish? It’s possible, but only if you have advanced tiling and waterproofing experience. The margin for error is razor-thin—especially when leveling and aligning the base with finished flooring. For those considering a full-scale update, understanding how to design innovative kitchens and bath spaces that transform your home in 2026 can help integrate the shower seamlessly into a modern, cohesive design.
Do onyx bases work with all drain types? Most are designed for standard 2-inch central drains, but custom configurations are available. Always confirm compatibility with your plumbing setup before ordering.
Final Tips for a Successful Onyx Shower Base Installation in 2026
Getting an onyx shower base right isn’t just about following steps—it’s about respecting the material. Precision in leveling and alignment can make the difference between a seamless, luxurious look and a costly rework. Even a slight deviation can lead to pooling water or stress fractures over time. Sealing is non-negotiable; untreated onyx is porous and vulnerable to stains and moisture penetration, so a high-quality impregnating sealer applied before and after grouting is essential. While skilled DIYers may attempt the install onyx shower base themselves, many underestimate the expertise needed for flawless waterproofing and slope calibration. In the long run, hiring a specialist might actually save money by avoiding leaks or structural issues. For those planning a broader refresh, pairing your new shower with forward-thinking design choices—like those outlined in our guide to innovative kitchens and bath spaces that transform your home in 2026—ensures a cohesive, future-ready bathroom. Prioritize quality at every stage: onyx is an investment in elegance, but only if installed with care.